Setting up Ashby
Connect Ashby to automate your hiring workflows.
Connection Steps
- Sign in to your Ashby account and go to Admin > Integrations > API Keys.
- Click "+ New", name it “Ava - EmployersAI”.
- Next, you’ll be asked to select your endpoint permissions. By default, the key will have no permissions.
- You can grant all read and write scopes to future-proof your integration, this way, you'll automatically support new features without needing to update the API key.
- Copy the generated key; you’ll need it in the next step. Please note you will not be able to copy your key again after closing out the setup wizard. If you forget or misplace a key, you will need to generate a new one.
Minimum Permissions Required
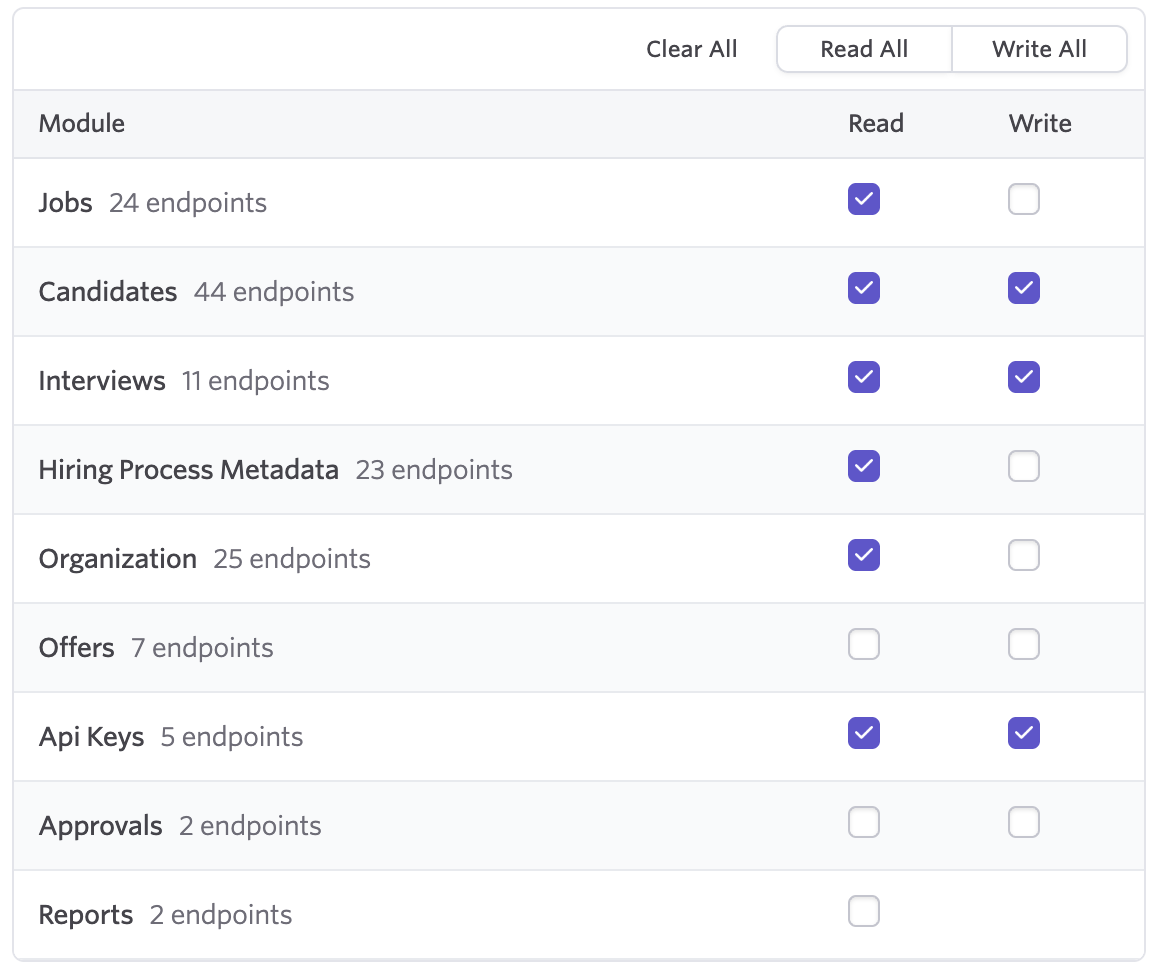
Ava will not work if you do not grant at least these permissions. If you want her to be able to post/update jobs, you will need to grant the Jobs/Write scope too.
Finalize talking with Ava
- In your platform, send Ava the following message: "Ava setup ashby with my API key = YOUR_API_KEY"
- Ava will verify your key’s scopes, create webhooks, and configure default stages.
- Once completed, Ava will tell you that everything is setup.